
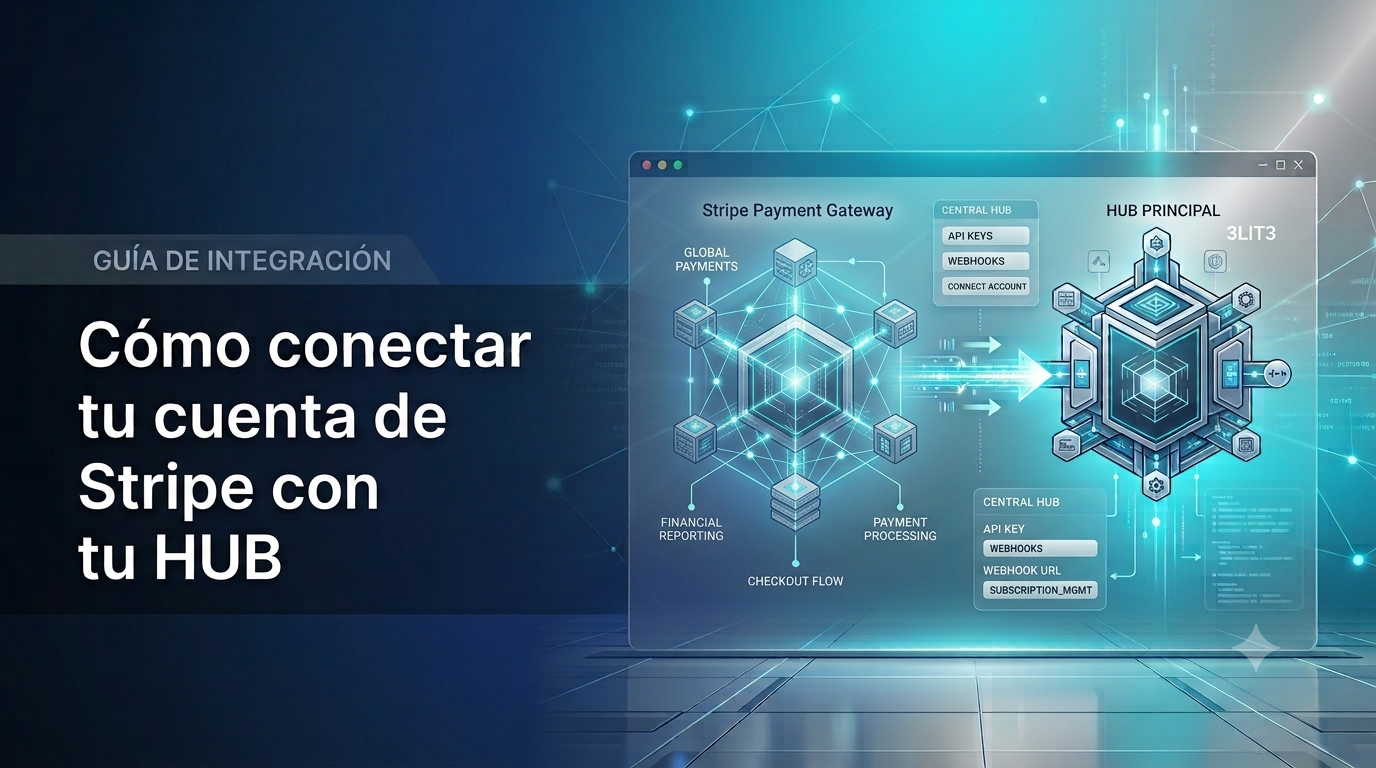
How to connect your Stripe account with your 3LIT3 HUB
Paste your key, set up the webhook, and sync your offers — payments stay 100% in your own account.
How to connect your Stripe account with your 3LIT3 HUB
Before you start, you need to have created your Stripe account and have your API key at hand — if you haven't done that yet, first check "How to create your Stripe account".
Step 1: Connect your key
- In your HUB, open the Payment method module
- On the Stripe card, paste your secret key into the "API key" field
- Click Save
If the key is valid, you'll see "Stripe connected" with the verification date.
Step 2: Set up the webhook
This is what tells 3LIT3 when a student pays you — without this step, the payment is processed in Stripe but your HUB never finds out.
- Once your key is connected, a Webhook section appears below. Copy the webhook URL with the "Copy" button
- In your Stripe account, go to Developers → Webhooks → Add destination
- Paste the URL you copied
- Select these events:
checkout.session.completed,customer.subscription.deleted,customer.subscription.updated - Save the destination — Stripe will show you a "Signing secret" (starts with
whsec_...) - Copy that secret and paste it into the "Webhook secret" field in your HUB, then click Save
When the webhook status changes to "Configured" (with the green icon), your connection is complete.
Step 3: Sync your offers
Go to your monetization plans and save them again once — this creates the corresponding price in your own Stripe account. From now on, any student who buys pays you directly, without going through IANOVA.